Kitchen island lighting isn’t an afterthought, it’s the difference between a functional workspace and a room that actually works. The right light fixtures above your island serve double duty: they illuminate the prep surface where you’ll spend time cutting vegetables and reading recipes, and they anchor the whole room’s aesthetic. Whether you’re installing your first island or upgrading outdated fixtures, understanding your options and the basics of installation will save you money, frustration, and future regrets. This guide walks you through the most popular styles, how to choose what fits your kitchen, and what you need to know before calling an electrician.
Table of Contents
ToggleKey Takeaways
- Kitchen island light fixtures serve dual purposes: they eliminate task lighting shadows on work surfaces and establish the room’s overall aesthetic and mood.
- Pendant lights are the most popular choice for kitchen islands, with two to three fixtures spaced evenly recommended for islands, roughly one fixture per 30-36 inches of counter length.
- Proper fixture height is critical—hang pendant lights between 30-36 inches above the counter to balance task lighting effectiveness with sightlines and visual comfort.
- Choose LED bulbs in the 3000K-4000K color temperature range, aiming for 1500-3000 lumens total brightness depending on whether island lighting is your primary or supplementary overhead source.
- Always hire a licensed electrician for island lighting installation to ensure code compliance, proper wiring, and safety, which typically costs $300-$800 in labor depending on your existing electrical infrastructure.
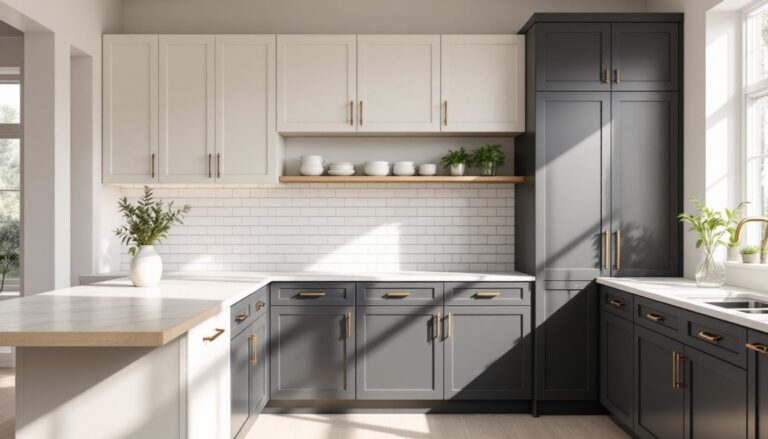
- Match your kitchen island light fixtures to existing hardware finishes and cabinet colors to create a cohesive design rather than randomly mixing metals and styles.
Why Kitchen Island Lighting Matters
Good island lighting solves a real problem: overhead lights and recessed ceiling fixtures cast your own shadow directly onto the work surface. Task lighting above the island fixes that. It also defines the space, making your island feel intentional rather than tacked on.
Beyond function, island lights set the kitchen’s mood. Warm pendant lights create intimacy for family gatherings: bright task lights support serious cooking: statement chandeliers announce design confidence. The scale matters too. A massive chandelier over a small island overwhelms the space: tiny pendants over a 6-foot island disappear.
Building codes don’t typically mandate island lighting, but they do require adequate illumination for task areas (usually 50-100 foot-candles for food prep). Your island fixtures should provide that, either alone or paired with other ceiling lights. Verify requirements with your local building department if you’re pulling permits for a larger renovation.
Popular Kitchen Island Light Fixture Styles
Pendant Lights and Chandeliers
Pendant lights are the go-to for islands. They hang from a single point or multiple wires, leaving the counter uncluttered and creating visual interest at eye level. Most kitchens benefit from two or three pendants spaced evenly along the island, roughly one fixture per 30-36 inches of counter length.
Pendant styles range wildly: industrial metal cones, frosted glass globes, woven rattan, craftsman-style with stained glass, minimalist brushed brass. The key is choosing a finish that coordinates with your cabinet and hardware. If your hardware is oil-rubbed bronze, match your pendant bases to that same finish rather than mixing metals randomly.
Chandeliers, typically multi-armed fixtures with multiple bulbs, work over larger islands (8+ feet). A statement chandelier can become the kitchen’s focal point, but it demands breathing room. Avoid busy chandelier designs in small kitchens: simpler lines read better in tight spaces.
When shopping pendants or chandeliers, note the fixture’s height and width. A pendant that hangs too low (under 30 inches from the counter) blocks sightlines and feels cramped. Too high (over 36 inches) and it loses its task-lighting punch. For fixture width, the diameter should be roughly one-third the island’s length, a 12-inch pendant works over a 36-inch island, but a 16-18-inch pendant suits a 48-60-inch island better.
Recessed and Track Lighting
Recessed fixtures (also called downlights or cans) sit flush in the ceiling and point straight down. They’re clean and modern, but alone they don’t provide focused task light over the island, you’re relying on ambient ceiling light. Pair recessed fixtures with under-cabinet or pendant lighting for balanced illumination.
Track lighting mounts to the ceiling and allows you to angle individual fixtures toward the work surface. It’s flexible and works well if you later reconfigure your kitchen layout. Track systems let you add, remove, or adjust light position without rewiring. The trade-off: tracks are more visible and can look utilitarian if not chosen with care. Matte black or brushed nickel tracks tend to blend better than chrome.
Choosing the Right Fixture for Your Space
Start by measuring your island, length, width, and height off the floor. Next, look at your kitchen’s existing finishes: cabinet color, hardware, backsplash material, and other light fixtures. Your island lights should feel cohesive, not randomly plucked from different style universes.
Consider the bulbs. Modern kitchens typically use LED bulbs (3000K-4000K color temperature). At 3000K, light is warm and inviting, ideal for casual dining areas. At 4000K, it’s neutral and bright, better for active cooking zones. Avoid 2700K for task lighting: it’s too amber and hides colors during food prep.
Brightness matters. Check the bulb’s lumens (not watts). A single 60-watt equivalent LED bulb produces about 800-1000 lumens. Over a kitchen island, aim for 1500-3000 lumens total, depending on whether it’s your only overhead light or paired with ceiling fixtures. If you’re not sure, buy adjustable dimmers, they let you dial brightness up or down based on the time of day.
Sources like interior design ideas and home decor inspiration and kitchen design resources offer visual inspiration. Browse completed kitchens and note which fixture styles appeal to you. Pay attention to how the lights scale to the island and the overall room. If you love a fixture but it’s wildly different from your kitchen’s vibe, it probably won’t feel right installed. Trust your instincts but also consider whether the style will age well or feel dated in five years.
Installation and Professional Considerations
Installing island lights involves electrical work. If your island has an existing power source running underneath (from a previous fixture or an island-mounted outlet), you may be able to tie into that. If not, you’ll need to run new wiring from your electrical panel or nearest junction box, this is not a DIY task without proper licensing in most jurisdictions.
Building permits vary by location. Many electrical upgrades require permits and inspection. Check with your local building department before starting. Unpermitted work can complicate future home sales and voids warranties.
Hiring an electrician ensures code compliance. They’ll confirm your island circuit can handle the fixture’s load, install proper support hardware (especially important for heavier chandeliers), and ensure grounding is correct. Budget $300-$800 for labor depending on whether wiring already exists and how accessible your ceiling is.
Once wiring is done, fixture installation is straightforward: mount the ceiling canopy (the part that covers the hole), connect wires using wire nuts, and secure the fixture body. Most pendant lights come with installation instructions. Take your time: poor connections cause flickering or fire hazards.
For safety: Turn off power at the breaker before touching any wires. Use a non-contact voltage tester to confirm power is off. If you’re uncomfortable working with electricity, don’t proceed. Mistakes are expensive and dangerous. Remodel inspiration and design guidance can help you visualize finished results and clarify what questions to ask your electrician.
After installation, test the fixture with all bulbs and confirm it’s bright enough. Some homeowners add a separate dimmer switch for flexibility.
Conclusion
Kitchen island lighting combines aesthetics with practical task illumination. Choose fixtures that scale to your island, match your finishes, and provide adequate brightness. Don’t skip the electrical work, hire a licensed electrician and pull permits if required. The investment pays off in both function and style every time you cook.