Standing water pooling at the bottom of a dishwasher is one of the most common, and frustrating, problems homeowners face. It’s usually fixable without calling a plumber, but knowing what’s causing it and how to drain a dishwasher safely makes all the difference between a quick fix and wasted time fiddling with the wrong solutions. This guide walks through why the water won’t drain, how to safely remove it, and what to do about the root cause so it doesn’t happen again.
Table of Contents
ToggleKey Takeaways
- Standing water in a dishwasher is usually caused by a clogged drain hose, blocked drain filter, full garbage disposal, or kinked hose—most issues are fixable without a plumber.
- Before attempting to drain a dishwasher, turn off the power at the breaker or unplug the unit to ensure your safety.
- Use a sponge and bucket to manually remove standing water, then inspect and unclog the drain hose with a wire coat hanger or drain snake if needed.
- Regular preventive maintenance—rinsing dishes before loading, running hot water cycles, and cleaning the pump filter—prevents future drainage problems.
- Call a professional technician if the drain pump won’t cycle, the hose is cracked or requires cabinet removal, or standing water returns immediately after draining.
- Installing a high loop in your drain hose or adding an air gap fitting improves drainage reliability and prevents siphoning issues.
Why Your Dishwasher Has Standing Water
Standing water in a dishwasher usually points to one of a few culprits. The most common issue is a clogged drain hose, the rubber tube running from the dishwasher to the sink drain or garbage disposal. Food particles, grease, and debris build up over time, blocking water flow entirely. If you’ve got a garbage disposal, it might be the real problem. A full or clogged disposal can create backpressure that prevents the dishwasher from draining.
Another frequent cause is a blocked drain pump filter, a small screen at the bottom of the tub that catches food scraps before they enter the pump. Once it’s caked with debris, water sits stagnant above it. Less common but still possible: a faulty drain pump that won’t engage, or a bent drain hose that’s crimped and restricting flow. Building codes vary, but most residential dishwashers require an air gap (a separate chrome fitting on the counter near the sink) or a high loop in the drain hose to prevent siphoning. If this gets blocked or isn’t installed correctly, drainage fails.
Safety First: Preparation Before Draining
Before touching anything inside the dishwasher, turn off the power. Most dishwashers have a dedicated circuit breaker, flip it to the off position. If you can’t locate it, unplug the unit from under the sink (check for a power outlet nearby). Never work on a plugged-in appliance with standing water inside.
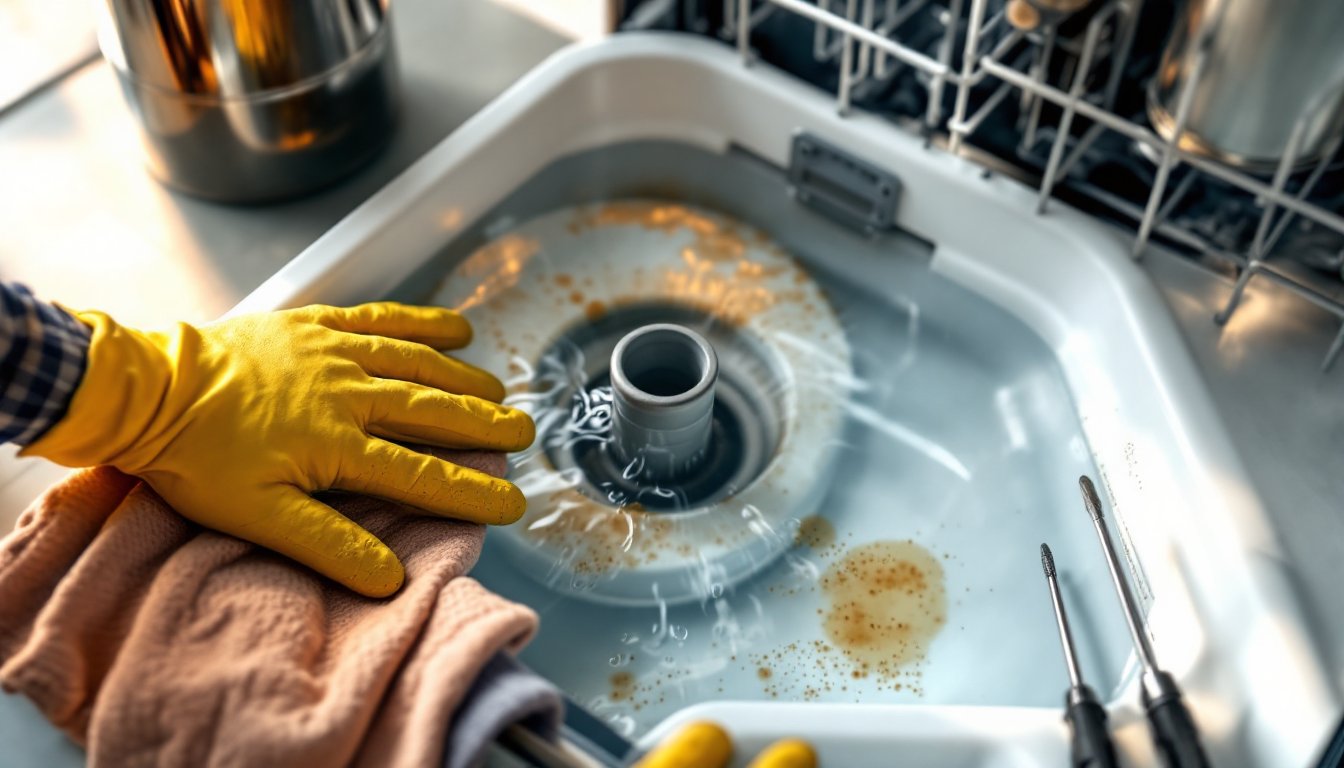
Gather your supplies: thick rubber work gloves, old towels or absorbent rags, a bucket or shallow plastic tub, a flashlight, and a sponge. Wear eye protection if you’re uncomfortable with splashing. Kneel or crouch in front of the dishwasher door and open it slowly, water might shift or slosh, and you don’t want it soaking your clothes or the kitchen floor. Have towels ready to throw on the floor if needed. Keep the bucket within arm’s reach. This prep takes two minutes but saves hours of cleanup headaches.
Manual Draining Methods
Using A Towel And Bucket
This is the fastest first step. Open the dishwasher fully and lay old towels on the kitchen floor in front of it to catch overflow. Grab a sponge or absorbent cloth and press it into the standing water at the bottom of the tub, it’ll soak up a surprising amount. Wring it into your bucket and repeat until the water level drops below the bottom rack. Once the standing water is mostly gone, pull out the lower rack. You’ll now have clear access to the pump area and filter screen.
If there’s still an inch or two of water, tip a shallow container into the remaining puddle and carefully scoop it into your bucket. This low-tech method takes about 10 minutes and doesn’t require any special tools. It also gives you a chance to eyeball what’s actually causing the blockage, you might spot a clog right at the drain opening.
Unclogging The Drain Hose
With the lower rack out and standing water gone, locate the drain hose. It’s a rubber tube connected to the bottom left or right side of the tub, usually held on with a hose clamp (a metal band you can tighten or loosen with a screwdriver or socket wrench). Trace it under the sink and follow where it connects, either to the sink’s P-trap, the garbage disposal, or a standpipe.
First, check the garbage disposal. If you have one, make sure it’s running freely. Flip the breaker back on, turn on cold water, and run the disposal for 10 seconds. Then kill the power again. A clogged disposal is a common reason the dishwasher can’t drain, and this simple test might be your answer.
If the disposal is clear, disconnect the drain hose. Have your bucket ready, there’s usually a cup or two of stagnant water trapped inside. Loosen the hose clamp with a flathead screwdriver, slide the hose off the fitting, and let it drain. Use your flashlight to peer into the hose opening. If you see sediment, debris, or a visible clog, use a straightened wire coat hanger or a drain snake (a flexible auger, typically 25–50 feet long and under $15) to push through and clear it. Work from both ends if needed. Flush the hose with warm water from the sink to verify it’s clear, then reconnect it firmly and tighten the hose clamp.
Fixing The Root Cause Of The Problem
Once you’ve drained the water and cleared any obvious clogs, you need to address what caused the problem in the first place. The most reliable long-term fix is preventive maintenance: run your dishwasher with hot water, load it properly so large food particles rinse away, and rinse heavily soiled dishes before loading.
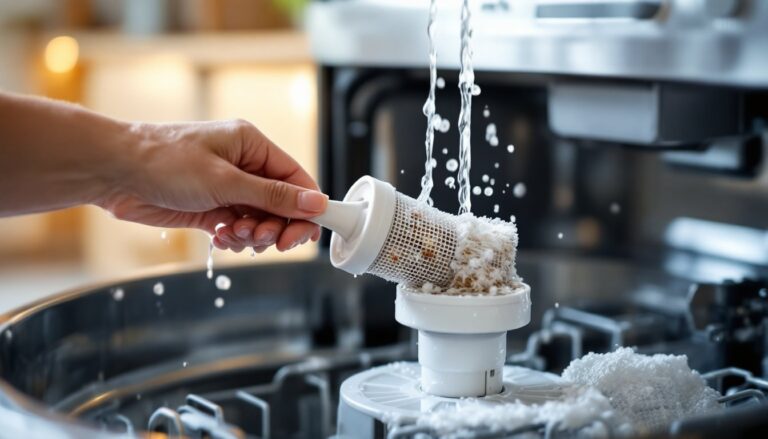
Inspect the pump filter (a cylindrical screen usually found at the lowest point in the tub). Remove any trapped food, hair, or debris by hand or with a soft brush. This filter is designed to catch particles before they enter the pump, if it’s clogged, water won’t drain. It’s typically accessed by twisting or lifting a cap or barrel. Check your dishwasher’s manual for the exact location and removal method, but most pull out easily. Rinse it under running water and replace it.
If standing water returns within a week, the pump itself may be faulty. According to detailed dishwasher repair guidance, a broken pump or stuck solenoid valve often requires professional service. You can also review seasonal maintenance checklists to prevent future appliance failures. For future reference, keep the drain hose free of kinks, a high loop (running the hose upward before it drops into the sink drain) prevents siphoning and improves drainage reliability. If your setup lacks an air gap and you’re confident in your plumbing skills, installing one is a DIY project that takes about an hour.
When To Call A Professional
Some situations require a licensed appliance technician. If the pump won’t cycle on even after you’ve cleared all visible clogs, the motor or solenoid valve is likely damaged and beyond a homeowner repair. If the drain hose is cracked or kinked inside the cabinet (sometimes visible as water pooling inside the cabinet itself rather than in the tub), you’ll need to remove the dishwasher to access and replace it, a task that involves disconnecting water lines, electrical connections, and sometimes modifications to cabinet space.
Similarly, if standing water returns immediately after draining and the hose is clear, the problem is inside the pump assembly, and opening that requires special tools and knowledge of how the pump interlock works. Technician visits typically cost between $150–$300 for diagnostics and labor, not including parts. Before paying, confirm the issue isn’t something simple: a full garbage disposal, a kinked hose hidden behind the cabinet, or an air gap that’s just filled with grease. Many problems feel catastrophic until you realize the solution is free, or costs just a few dollars and 30 minutes of your time. Step-by-step DIY tutorials can walk you through more advanced fixes if you’re willing to tackle them, but don’t hesitate to call in help if you hit electrical or hydraulic work you’re not comfortable with.